


8x12 Shed Plans: How to Build a Sturdy and Functional Shed
Constructing an 8x12 shed offers a practical solution for increased storage space, workshop facilities, or even a small hobby area. This comprehensive guide details the planning, construction, and finishing processes necessary to build a robust and functional shed that will serve you for years to come. Careful attention to detail in each stage ensures a structurally sound and aesthetically pleasing outcome.
I. Planning and Design Considerations
Before commencing construction, thorough planning is crucial. This phase encompasses site selection, design choices, material selection, and acquiring necessary permits.
A. Site Selection and Preparation
The chosen site must be level, adequately drained, and provide sufficient access for construction equipment and materials. Consider proximity to electrical outlets (if desired) and potential sunlight exposure for natural lighting. Clearing the area of vegetation, debris, and uneven ground is essential. A level foundation is paramount for structural integrity. This may involve excavation and the addition of compacted gravel.
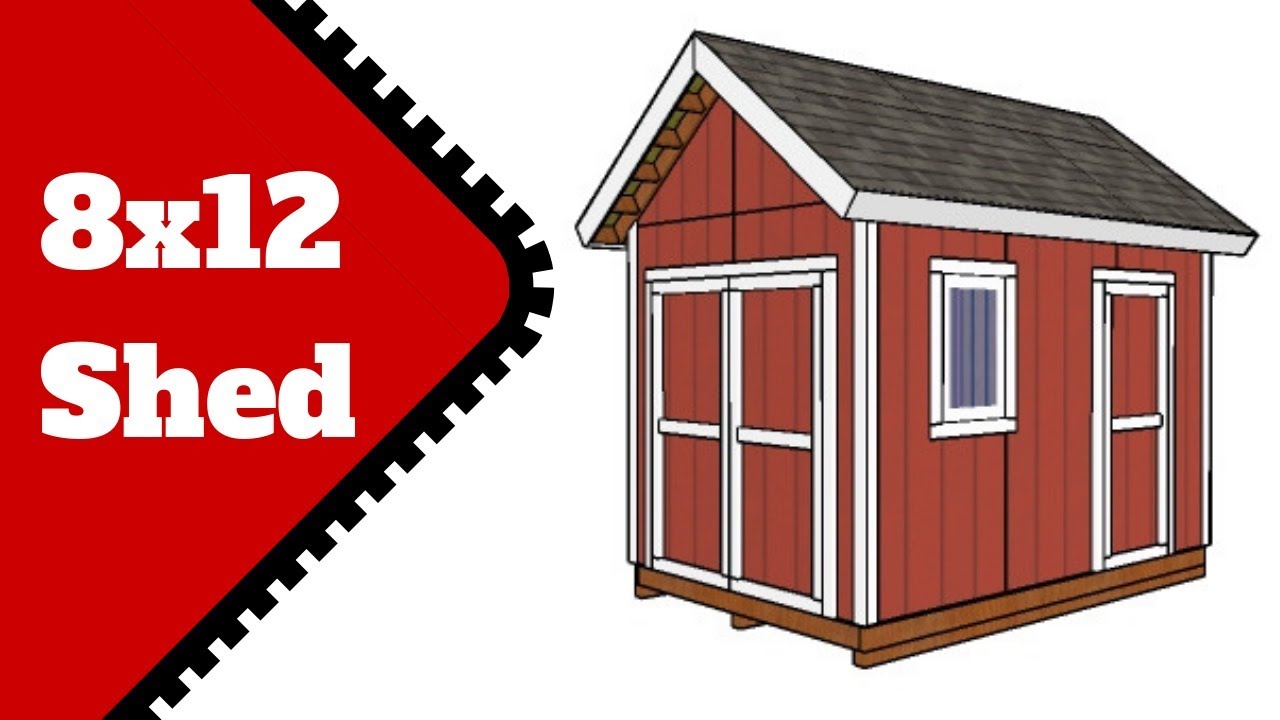
B. Shed Design and Dimensions
An 8x12 shed provides ample space for various uses. The design should consider the intended purpose. Will it be primarily storage, a workshop, or a combination of uses? This influences the internal layout, including shelving, workbench placement, and door and window placement. Detailed drawings are recommended, detailing dimensions, material specifications, and component designs. Online resources offer numerous 8x12 shed plans, providing a starting point for customization.
C. Material Selection
Material choices significantly impact the longevity and durability of the shed. Pressure-treated lumber is recommended for its resistance to rot and insect infestation, particularly for the foundation, framing, and floor joists. Consider using cedar or redwood for an aesthetically pleasing exterior, although these are more expensive. For roofing, asphalt shingles provide a cost-effective and durable option. Metal roofing offers superior longevity and weather resistance but is more expensive to install. Determine the appropriate thickness and grade of materials based on local building codes and anticipated environmental conditions.
D. Obtaining Necessary Permits
Contact your local building department to determine whether a permit is required for an 8x12 shed. Regulations vary depending on location. Failure to obtain the necessary permits can result in fines or the need to dismantle the structure. Provide the building department with your detailed shed plans for review and approval before starting construction.
II. Foundation Construction
A strong and level foundation is critical for the stability and longevity of your shed. Several options are available, each with its own advantages and disadvantages.
A. Concrete Slab Foundation
A concrete slab provides a durable and level base. Excavate the area to the required depth, install a compacted gravel base, and pour the concrete slab according to the specifications outlined in your plans. Ensure proper curing time before proceeding to the next phase. This method is generally more expensive than other options.
B. Gravel Base Foundation
A gravel base is a more economical option but less durable than concrete. This involves excavating the area, creating a level base with compacted gravel, and laying down a layer of landscaping fabric to prevent weed growth. This method is suitable for less demanding sheds.
C. Pier and Beam Foundation
A pier and beam foundation offers excellent drainage and ventilation. This involves placing concrete piers at regular intervals, supporting a framework of beams upon which the floor joists rest. This is a more complex method but is suitable for areas with poor drainage.
III. Framing and Wall Construction
The framing process involves creating the skeletal structure of your shed, ensuring structural integrity and providing a framework for the walls and roof. Accuracy in measurements and precise cuts are essential.
A. Framing the Floor
Lay down the floor joists according to your plans, ensuring proper spacing and support. Attach the plywood subflooring to the joists, creating a solid and level base for the walls. Consider using pressure-treated lumber for the floor joists to prevent rot and insect damage.
B. Wall Framing
Construct the wall frames using pressure-treated lumber. Ensure that the frames are square and plumb, using a level and plumb bob to check for accuracy. Install the wall sheathing (plywood or OSB) to complete the wall structure. Remember to account for door and window openings during framing.
C. Installing Doors and Windows
Install doors and windows after the wall sheathing is complete. Ensure proper alignment and sealing to prevent drafts and water leakage. Use appropriate fasteners and weatherstripping for a secure and airtight fit. Consider using double-paned windows for improved insulation.
IV. Roofing and Exterior Finishing
The roof protects your shed from the elements. Careful construction ensures durability and weather resistance.
A. Roof Framing
Construct the roof trusses according to your plans, ensuring proper spacing and alignment. Raise and secure the trusses to the top plates of the wall frames. Use appropriate fasteners and bracing to maintain structural integrity. Consider the roof pitch for proper water runoff.
B. Roofing Installation
Install the roofing material (asphalt shingles, metal roofing, etc.) according to the manufacturer's instructions. Ensure proper overlapping and sealing to prevent leaks. Proper ventilation is critical to prevent moisture buildup and prolong the life of the roofing material.
C. Exterior Finishing
Apply exterior paint or sealant to protect the wood from the elements. This enhances the appearance and extends the lifespan of your shed. Choose a high-quality exterior paint designed to withstand weathering. Consider adding trim and other aesthetic features to enhance the visual appeal.
V. Interior Finishing
The interior finishing phase transforms the shed into a functional and usable space.
A. Interior Walls and Ceilings
Finish the interior walls and ceilings with drywall, paneling, or other suitable material. This enhances the aesthetics and provides insulation. Consider adding insulation to the walls and ceiling to improve energy efficiency. Ensure proper vapor barrier placement.
B. Electrical Wiring and Lighting
If adding electricity, ensure compliance with all local electrical codes. Hire a qualified electrician to perform this work. Install appropriate lighting to illuminate the shed's interior.
C. Shelving and Workbenches
Install shelving and workbenches according to your needs and design. Use sturdy materials to create durable and functional storage solutions.
Building an 8x12 shed requires careful planning, meticulous execution, and attention to detail. By following these guidelines and adhering to safety practices, you can construct a robust and functional structure that meets your needs for years to come. Remember to always prioritize safety and consult professional resources when necessary.


No comments:
Post a Comment
Note: Only a member of this blog may post a comment.